跪婦麻麻超愛吃韓國麵包。它的口感QQ,有點像在吃麻糬,怪不得它又被稱為麻糬麵包。This is a bilingual recipe for people who want to learn English. 這篇文章採用中英對照的方式, 讓大家邊看食譜也可以邊學英文唷XD
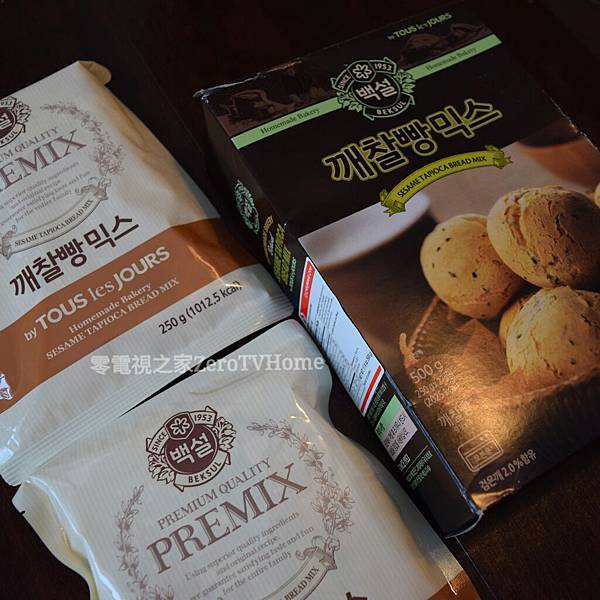
那天去韓國超市買菜,看見一包包的麻糬麵包預拌粉在特價,忍不住帶了一包回來玩。
沒辦法,跪婦麻麻只要看見特價的東西,就很難淡定,哈哈哈!

<適用年齡>
我家小人兒約兩歲左右可以咀嚼吞嚥麻糬麵包,但是跪婦麻麻強烈建議大家依照孩子的咀嚼能力來提供食物。保守估計是2~3歲以上再吃麻糬麵包,以免噎住唷!

註:
包裝上面都是韓文,跪婦麻麻只能自己靠著大學期間學到的韓文隨便亂翻譯。我一邊也研究了不同的配方,好險最後做出來的麻糬麵包味道還不錯。
但是如果跪婦麻麻有任何地方翻譯錯誤,麻煩讀者們一定要糾正我,不要讓我一直錯下去了!謝謝~

<韓國麻糬麵包>
*成品約為10~15個
材料:
1包 麻糬麵包預拌粉(250克)
1顆 雞蛋
70~90 ml(約1/3杯) 牛奶(或水)
*註:
因為一盒有兩包預拌粉,跪婦麻麻先依照包裝說明,用了90 ml 的水,另外一包則是使用70 ml (1/3杯)的水。
兩種方式都可以成功製作麻糬麵包。
不過水份愈多則成品口感愈紮實,水份減量則麵包中心類似於麻糬,所以請依照個人喜好來增加水量嘍!
可以使用牛奶來代替冷開水。
作法:

1. 將烤箱預熱至華氏350°F (或者攝氏 180°C)。
把所有的食材放入大盆當中。

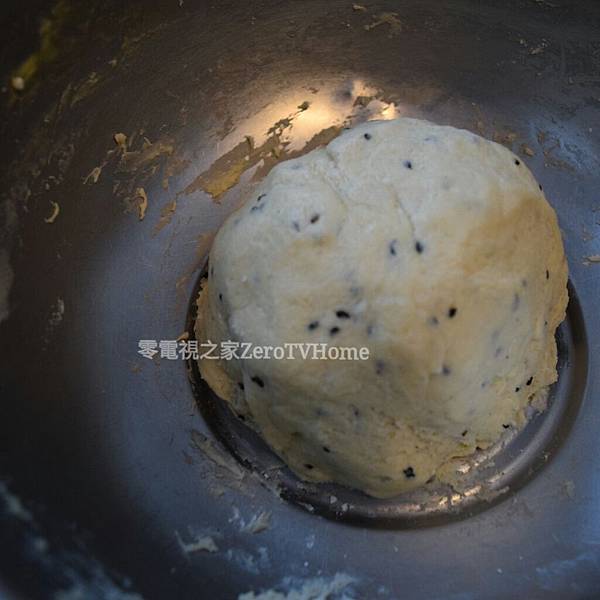
2. 使用雙手或者飯匙,將所有的材料攪拌均勻,直到它變成一個球狀的麵團為止。

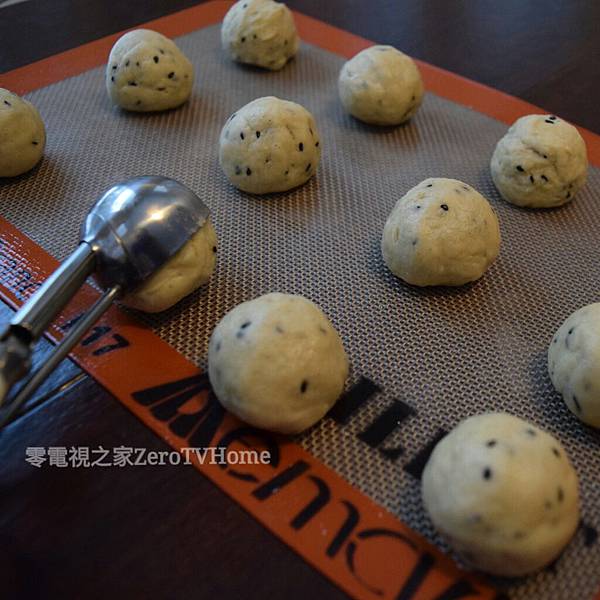
3. 將麵團分成10~15個小圓球,每份重約35~40公克。
跪婦麻麻比較懶惰,喜歡用迷你冰淇淋挖球器來挖取麵團,製作麻糬麵包時很方便。

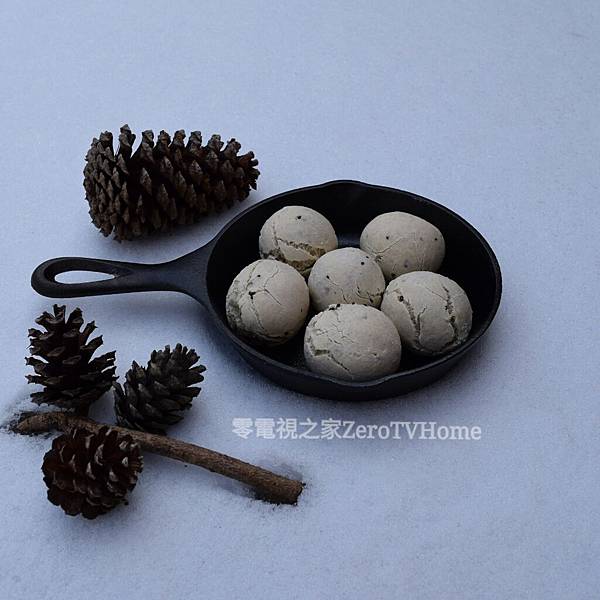
4. 將麵團置於烘焙墊(或烘焙紙)上面,也可以放在平底鑄鐵鍋裡,每個麵團間隔約3~5公分。
烘焙前,用噴水瓶在麵團表面噴一點冷開水。

5. 烘烤30~40分鐘左右,或者直到麻糬麵包膨脹,並且表面呈現些許金黃色為止。
差不多烘烤到十五分鐘左右,將烤盤拿出來,在麵團表面稍微噴一些冷開水,會讓麻糬麵包的表層更加酥脆唷!
------

I LOVE the slightly chewy texture of Korean breads so bought a package of Sesame Tapioca Bread Premix from a Korean grocery store.
The texture is crunchy on the outside and chewy in the inside, with just enough of sweet and salty flavor. It's very tasty and has become popular in eastern Asia.

With a package of premix you can easily make the mochi breads in around 45 minutes.
Unfortunately the instructions were all in Korean, so I had to translate it by myself.
Although I took Korean language lessons in college, I have forgotten most of the vocabularies. Please correct me if I made any mistakes :)

Sesame Tapioca Bread (Korean Bread)
* Makes about 10~15 balls
Ingredients:
1 package Tapioca Bread Premix (250 g)
1 egg
70~90 ml ( about1/3 cup) water*

*Notes:
Although the package suggested 90 ml of water, I found using about 70 to 80 ml is enough.
Adding 90 ml water will result more chewy and dense texture.
You may add the amount of water you prefer (between 70~90 ml).
Substitute water for milk if you like.
Instructions:

1. Preheat oven to 350°F (or 180°C). Put the ingredients in a large bowl.

2. Mix everything until it forms a ball-shaped dough.

3. Use your hands to divide the dough into 10-15 round balls, each weighs about 35~40g.
I prefer using a small ice cream scoop to create many small balls.

4. Place the balls 2 inches apart on a silicon baking mat (or parchment paper).
Spray some water on the dough before baked.

5. Bake for 30~40 minutes until the breads are puffed and slightly golden brown.
Spray some more water in between the baking time to make the bread crust crispier.

Let's have a snowball fight :)
雪球大戰,開打(^O^)


 留言列表
留言列表